Perfect Washing Techniques: How to Avoid Swirl Marks
Swirl marks can be the bane of any car enthusiast’s existence. They’re those tiny, spider-web-like scratches that ruin your car’s pristine finish. The good news? You can avoid them! With just a little extra care and attention, your car can stay shiny and scratch-free. Let’s dive into the techniques that will help you avoid those dreaded swirl marks.
Start with a Gentle Pre-Rinse
Think of the pre-rinse as the warm-up for your car’s wash. It’s essential because it removes loose dirt, dust, and debris that can scratch your car’s surface during washing. Skipping this step is like dragging sandpaper over your paint—ouch!
Use a garden hose with a nozzle or a pressure washer set to a low setting. Start from the top of the car and work your way down to rinse off as much grime as possible. The idea is to let the water do most of the heavy lifting, so you’re not grinding dirt into your paint when you start scrubbing. It’s quick, easy, and it saves your car’s finish from unnecessary damage.
Choose the Right Tools for the Job
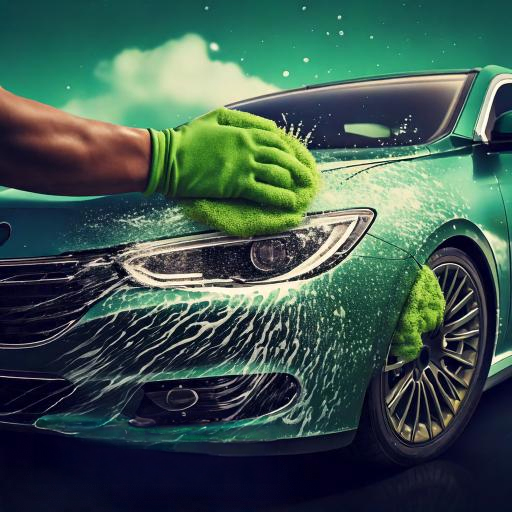
The tools you use can make or break your car-washing game. Not all sponges and cloths are created equal! For starters, ditch those old, yellow household sponges—they’re too rough and can trap dirt particles that lead to scratches. Instead, opt for a microfiber wash mitt. These mitts are soft, gentle, and designed to lift dirt away from the surface of your car.
Pair your wash mitt with a bucket fitted with a grit guard. What’s a grit guard, you ask? It’s a nifty little insert that sits at the bottom of your bucket and traps dirt particles, so they don’t end up back on your mitt. It’s a small investment that makes a massive difference in preventing swirl marks. Remember, a clean mitt is a happy mitt, and a happy mitt equals a scratch-free car!
Master the Two-Bucket Method
If you’re still using one bucket for your car wash, it’s time to level up. The two-bucket method is a game-changer when it comes to avoiding swirl marks. Here’s how it works:
- Bucket #1: Fill this with clean, soapy water. This is where your wash mitt will start its journey.
- Bucket #2: Fill this with plain water. Use it to rinse out your wash mitt before dunking it back into the soapy bucket.
By separating the clean and dirty water, you’re ensuring that no grime sneaks back onto your mitt and scratches your car. It’s a simple trick, but it’s one that car enthusiasts swear by. Once you try it, you’ll wonder how you ever washed your car without it.
Work in Small Sections
When washing your car, patience is your best friend. Rushing through the process or trying to clean the entire car in one go can lead to uneven cleaning and—you guessed it—swirl marks. Instead, break your car into manageable sections: roof, hood, doors, etc. Wash and rinse one area completely before moving on to the next.
Why does this matter? It prevents soap from drying on your car, which can leave behind stubborn spots. Plus, focusing on smaller sections ensures you’re giving each part of your car the attention it deserves. Think of it as a spa day for your ride—no rush, just relaxation and care.
Always Use the “Top-Down” Technique
Gravity is your ally when it comes to washing cars. Start from the roof and work your way down to avoid spreading dirt and grime upwards. The bottom parts of your car, like the wheels and lower panels, are the dirtiest. By saving these areas for last, you’re minimizing the risk of contaminating cleaner sections with grit.
Make sure to switch to a separate mitt or sponge when cleaning the dirtiest parts, like the wheels and undercarriage. Mixing tools between the clean and dirty areas is a surefire way to invite swirl marks onto your pristine paintwork. Keep it clean, keep it consistent, and your car will thank you.
Dry Gently and Carefully
You’ve made it through the washing process without swirl marks—don’t ruin your hard work with improper drying! Avoid using old towels or—worse—letting your car air-dry, which can lead to water spots. Instead, grab a high-quality microfiber drying towel. These towels are super absorbent and gentle on your car’s surface.
Blotting, rather than wiping, is the key here. Lay the towel flat on your car and gently press down to soak up water. If you prefer a quicker method, a car-specific leaf blower can also get the job done. It removes water without physical contact, making it the safest option for your paint.
Waxing Wisdom: Choosing the Right Wax for Your Car
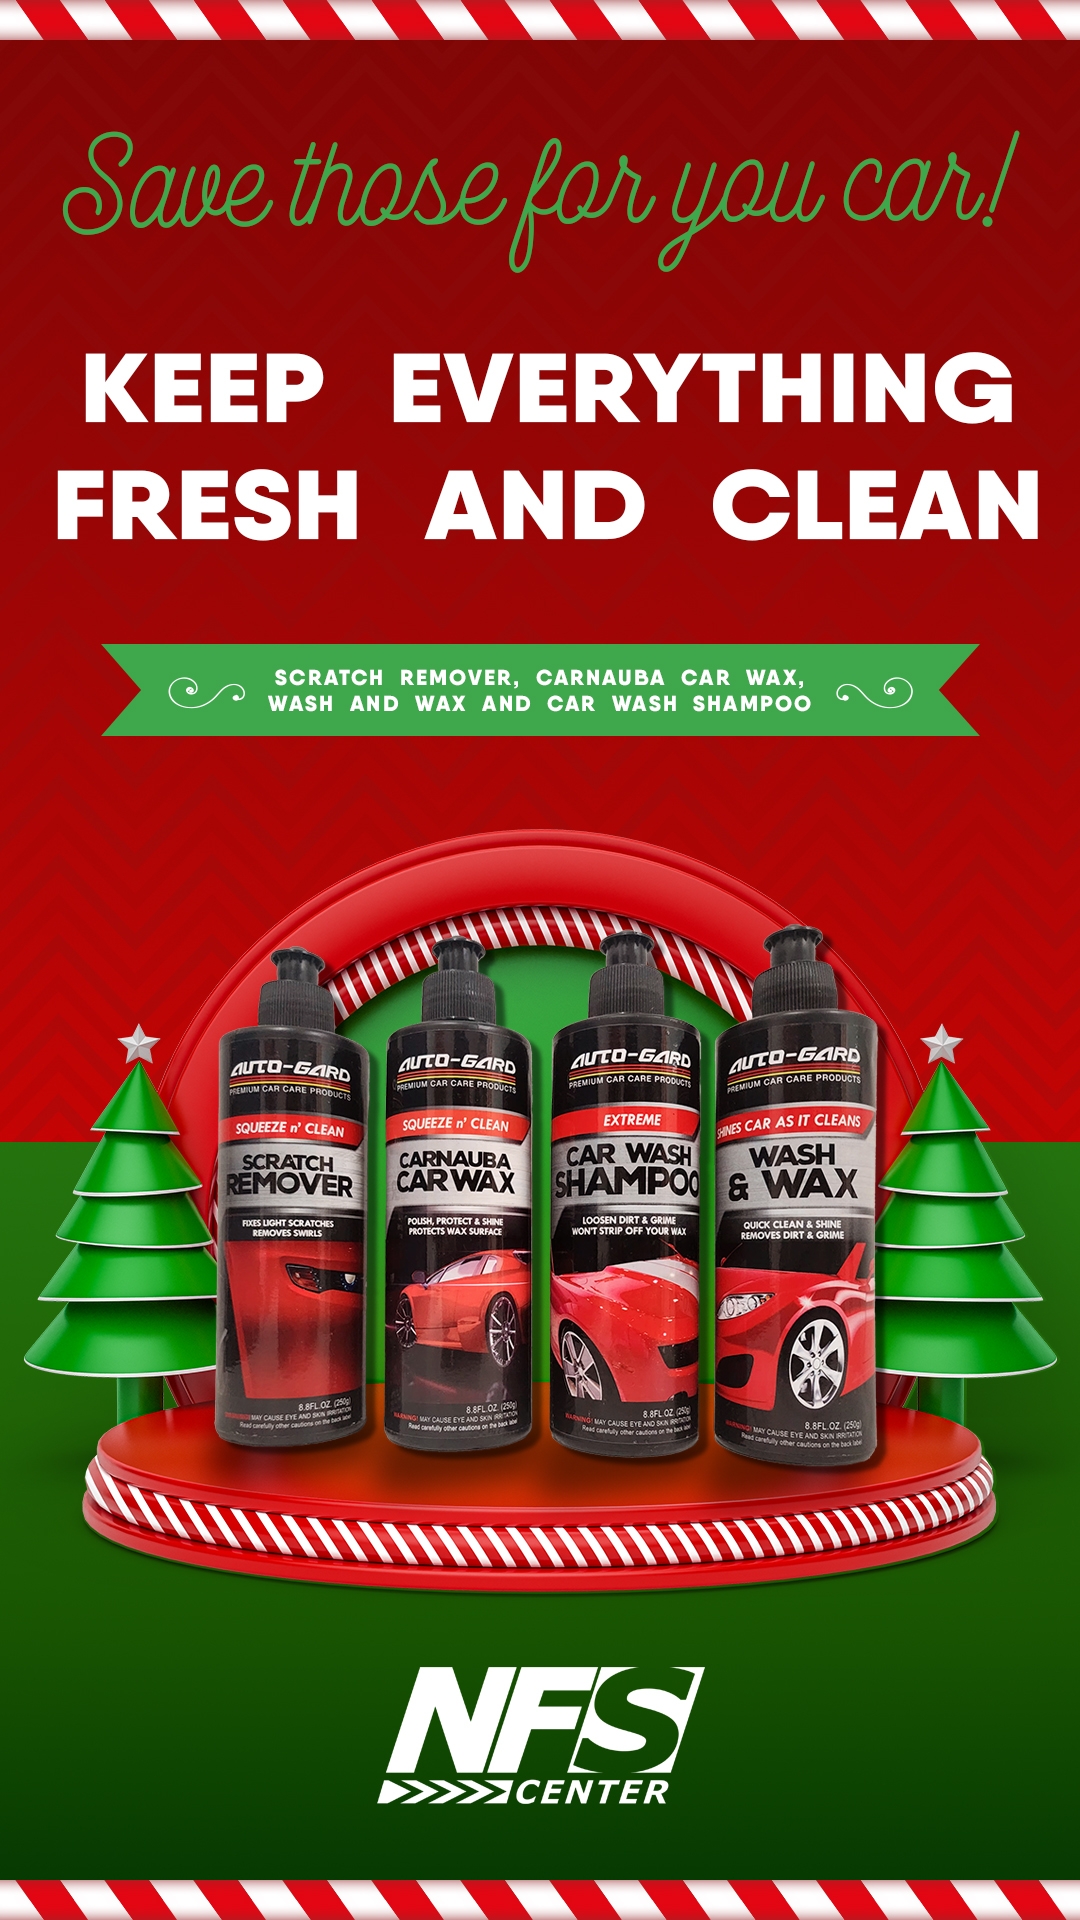
When it comes to waxing your car, the options can feel overwhelming. Should you go for a paste, liquid, or spray? What about synthetic versus natural wax? Don’t worry—this guide will break it all down so you can confidently pick the perfect wax to give your car that showroom shine.
Natural vs. Synthetic Wax: What’s the Difference?
One of the first decisions you’ll face is choosing between natural and synthetic wax. Natural wax, like carnauba, is prized for its deep, warm shine. It’s ideal for those who want their car to look like it’s rolling out of a luxury showroom. The downside? It doesn’t last as long and may need reapplication more frequently.
On the other hand, synthetic wax is made from polymers designed for durability. If you want a “wax it and forget it” option, synthetic is your friend. It offers excellent protection against weather, UV rays, and dirt. While it may not give the same classic glow as carnauba wax, it still provides a brilliant shine that’ll impress your neighbors.
So, which one should you pick? If you’re waxing for a car show or just love that ultra-deep shine, go for natural. If you’re looking for long-term protection and low maintenance, synthetic is the way to go.
Paste, Liquid, or Spray: The Big Debate
Wax comes in three main types: paste, liquid, and spray. Each one has its own perks and quirks, so let’s break them down.
Paste wax is the OG of car waxes. It’s thick, rich, and known for its incredible shine. If you have time and enjoy the process of carefully applying wax, paste is perfect for you. However, it can take a bit more elbow grease to apply and buff off, so keep that in mind.
Liquid wax is a popular middle ground. It’s easier to apply than paste and offers long-lasting protection. It’s great for DIYers who want to strike a balance between effort and results. The only tricky part? Applying it evenly—so take your time and enjoy the process.
Spray wax is the quickest and easiest option. It’s perfect for touch-ups or for when you’re short on time. While it doesn’t last as long as paste or liquid, it’s still an excellent choice for keeping your car looking sharp between full waxes. If convenience is key, spray wax is your go-to.
Matching Your Wax to Your Car’s Needs
Not all cars are the same, and neither are their waxing needs. For example, if your car is dark-colored, you’ll want a wax that enhances depth and reduces swirl marks. Darker paints tend to show imperfections more, so choose a product labeled “for dark cars” or with added fillers for scratches.
For lighter-colored cars, focus on waxes that boost gloss and reflectivity. Lighter shades may not show scratches as much, but they can look dull if not properly polished. A good all-around wax will give your light-colored car a sparkling glow.
If you live in a harsh climate, look for waxes with extra UV protection or water-repellent properties. These will help shield your car from the sun, rain, and even road salt. Your wax choice should always reflect the environment your car faces daily.
DIY Tips for Getting the Best Results
Whatever wax you choose, how you apply it can make all the difference. Always start with a clean, dry car—dirt and water can mess with your wax job. Apply wax in a shaded area, as direct sunlight can cause it to dry too quickly, making it harder to buff off.
Use a foam applicator pad or microfiber cloth to spread the wax in small, circular motions. Work on one section at a time to ensure even coverage. Once it’s dried to a hazy finish, buff it off with a clean microfiber towel for that incredible shine.
Remember, less is more! Using too much wax won’t give you better results and can actually make buffing more difficult. A thin, even layer is all you need to protect your car and make it gleam.
Wax Smart, Shine Bright
Choosing the right wax doesn’t have to be stressful. By understanding your car’s needs and considering your own preferences, you can find the perfect product to keep your ride looking its best. Whether you go for the deep shine of carnauba, the durability of synthetic, or the convenience of a spray, waxing is your secret weapon for turning heads on the road. So grab your favorite wax, get to work, and enjoy that feeling of driving a car that looks like new!
Essential Tools: Must-Have Brushes, Cloths, and Applicators
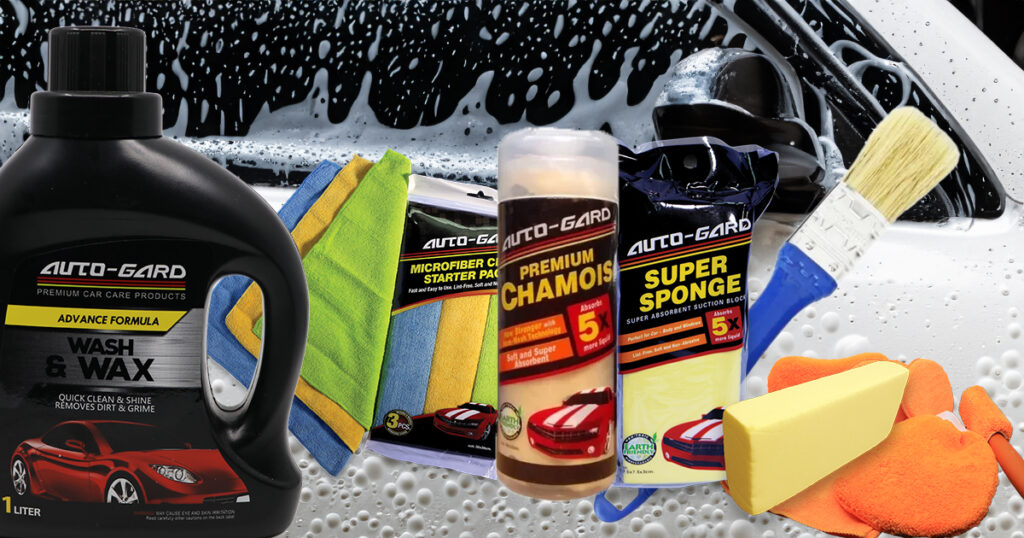
When it comes to car detailing, having the right tools can make all the difference. Sure, you can try to wing it with an old sponge and a towel from your bathroom, but if you want results that make your car shine like it just rolled out of a showroom, it’s time to level up your gear. Let’s dive into the brushes, cloths, and applicators that every car enthusiast and DIYer should have in their arsenal.
Brushes: Precision Cleaning Made Easy
You might think any brush will do, but not all brushes are created equal. For car detailing, you need soft-bristled brushes that are gentle on your paintwork but tough on dirt. These are perfect for cleaning delicate areas like emblems, grills, and even around your car’s fuel cap.
Wheel brushes are another must-have. Designed to get into the nooks and crannies of your rims, these brushes can tackle stubborn brake dust and grime without scratching your wheels. Plus, a clean set of rims instantly elevates your car’s overall look, so don’t skip this step!
For interiors, invest in smaller detailing brushes. These are perfect for cleaning air vents, buttons, and seams in your upholstery. You’ll be amazed at how much dirt hides in those tiny spaces. Remember, the right brush not only saves you time but also makes the job a whole lot more enjoyable.
Shop Now at: https://invl.io/clm4du6
Cloths: Microfiber is King
If you’ve been using old rags or paper towels to clean your car, it’s time for an upgrade. Microfiber cloths are an absolute game-changer. They’re soft, absorbent, and incredibly effective at trapping dirt and dust without leaving scratches or streaks.
For drying your car after a wash, a large waffle-weave microfiber towel works wonders. It soaks up water like a sponge and leaves your car spotless. You’ll never look back once you experience how effortlessly these towels glide over your car’s surface.
When it comes to waxing and polishing, opt for edgeless microfiber cloths. The lack of seams means there’s no chance of accidental scratches while buffing your car to a high shine. Keep a stash of these cloths handy—you’ll need separate ones for washing, drying, and detailing to avoid cross-contamination.
Pro tip: Always wash your microfiber cloths separately and avoid using fabric softener. This keeps them in top condition and extends their lifespan.
Shop Now: https://invl.io/clm4c4i
Shop Now: https://invl.io/clm4dto
Applicators: Smooth and Even Coverage
Waxing and polishing are where your car truly transforms, but only if you apply the products correctly. That’s where applicator pads come in. Foam applicators are perfect for spreading wax or polish evenly across your car’s surface. They’re easy to handle and ensure you don’t use too much product.
For those who love a little extra comfort, consider microfiber applicators. They’re just as effective as foam but feel softer in your hands. Plus, they’re great for spreading products like tire shine or leather conditioner.
If you’re tackling interior detailing, you might want to try specialized applicator brushes for areas like your dashboard or door panels. These tools help you apply cleaning products with precision, ensuring you don’t miss a spot or overdo it in certain areas.
Shop Now: https://invl.io/clm4c3h
Putting It All Together
Having the right tools is like having the perfect recipe for your favorite meal—it makes the process smoother, quicker, and more enjoyable. Start with a few basics, like a set of quality brushes, a pack of microfiber cloths, and a couple of applicator pads. As you get more into detailing, you can expand your toolkit to include specialty brushes, drying towels, and even foam guns for the ultimate wash experience.
It’s also important to take care of your tools. Clean your brushes after every use, wash your microfiber cloths properly, and store everything in a clean, dry place. The better you treat your tools, the better they’ll perform for you in the long run.
The Secret to a Professional Finish
At the end of the day, your car deserves the best, and so do you. Using the right brushes, cloths, and applicators isn’t just about getting a clean car—it’s about making the whole process more enjoyable and satisfying. There’s something incredibly rewarding about stepping back to admire your work, knowing you’ve nailed every detail.
So next time you’re gearing up for a wash and wax session, make sure your toolkit is ready to go. With the right essentials by your side, you’ll not only protect your car’s finish but also make it shine brighter than ever. Who needs a professional detailer when you’ve got the skills and tools to do it yourself?
The Final Touch: Drying Techniques for a Streak-Free Finish
Washing and waxing your car is a satisfying experience, but the job isn’t complete until you’ve mastered the drying process. Drying may seem like a simple task, but if you rush or use the wrong technique, you might leave streaks, water spots, or worse—scratch your precious paint. Let’s explore how to achieve that flawless, streak-free finish that will make your car look like a work of art.
Why Drying Matters More Than You Think
You might be tempted to let your car air-dry, thinking it’s the easy way out. But trust me, air-drying is a recipe for disaster. Water droplets can leave mineral deposits, known as water spots, that are tough to remove and can dull your car’s shine over time.
By taking the time to dry your car properly, you’re not just preserving its good looks—you’re protecting the paintwork from potential damage. Plus, there’s nothing quite as satisfying as stepping back and seeing your car gleam under the sunlight, streak-free and spotless.
The Right Tools for the Job
Drying your car is all about having the right tools on hand. Forget about old bath towels or T-shirts—they’re too harsh and can leave scratches. Instead, reach for a large microfiber drying towel. These towels are ultra-absorbent and gentle, ensuring your paint remains scratch-free.
Another great option is a chamois leather cloth. It’s a classic choice for car drying because it’s soft and highly absorbent. Just make sure to rinse and wring it out frequently to avoid spreading dirt around.
For those hard-to-reach areas, like side mirrors and door handles, keep a smaller microfiber cloth handy. It’s perfect for detail work and catching any missed spots.
Drying Techniques That Deliver
Start by working from the top down. Your roof collects the most water, so tackling it first prevents water from dripping onto already-dried sections. Lay your microfiber towel flat on the surface, then gently drag it across to absorb the water. Avoid rubbing or scrubbing—you don’t want to create any swirl marks.
For larger sections, like the hood or doors, fold your towel into quarters. This gives you multiple clean surfaces to work with, ensuring you’re not spreading dirt around. After wiping, give the towel a quick shake to fluff it up and maintain its absorbency.
If you’re dealing with crevices, like around emblems or in between panels, use compressed air or a specialized car dryer. These tools blow water out of tight spaces, preventing water spots from forming later. Plus, it’s oddly satisfying to watch the water shoot out like magic!
Don’t Forget the Glass and Wheels
Your car’s windows and wheels deserve just as much attention as the paintwork. Use a separate microfiber towel for the glass to avoid transferring wax or polish residue. Work in straight lines instead of circles to prevent streaking and achieve a crystal-clear finish.
For the wheels, dry them last using another dedicated towel. Wheels tend to hold onto dirt and brake dust, so keeping a separate towel avoids contaminating the rest of your car. A quick wipe-down not only makes your wheels shine but also keeps rust and grime at bay.
A Few Pro Tips for Perfection
If you’re drying in direct sunlight, work quickly. The heat can cause water to evaporate too fast, leaving streaks behind. Ideally, park your car in the shade or dry it during cooler parts of the day.
Another game-changer is using a spray wax or quick detailer as you dry. Spritz a little onto the surface before wiping, and you’ll add an extra layer of shine and protection while reducing friction. It’s like giving your car a mini spa treatment!
Lastly, always wash and dry your microfiber towels after every use. Dirty or damp towels can scratch your car, so keep them fresh and clean for next time.
The Reward of a Job Well Done
Drying your car might seem like the final chore in a long process, but it’s so much more than that. It’s the moment when all your hard work pays off, and your car transforms into a gleaming masterpiece.
When you take the time to dry your car properly, you’re not just preventing water spots—you’re showcasing your attention to detail and love for your ride. Plus, let’s be honest: there’s no better feeling than cruising down the road in a car that looks this good.
So grab your microfiber towel, roll up your sleeves, and enjoy the process. With the right tools and techniques, drying your car becomes the cherry on top of a perfectly polished sundae. Your car will thank you for it, and you’ll be the envy of every car enthusiast on the block.

